

Step 1: Firstly you have to create an aws IAM user
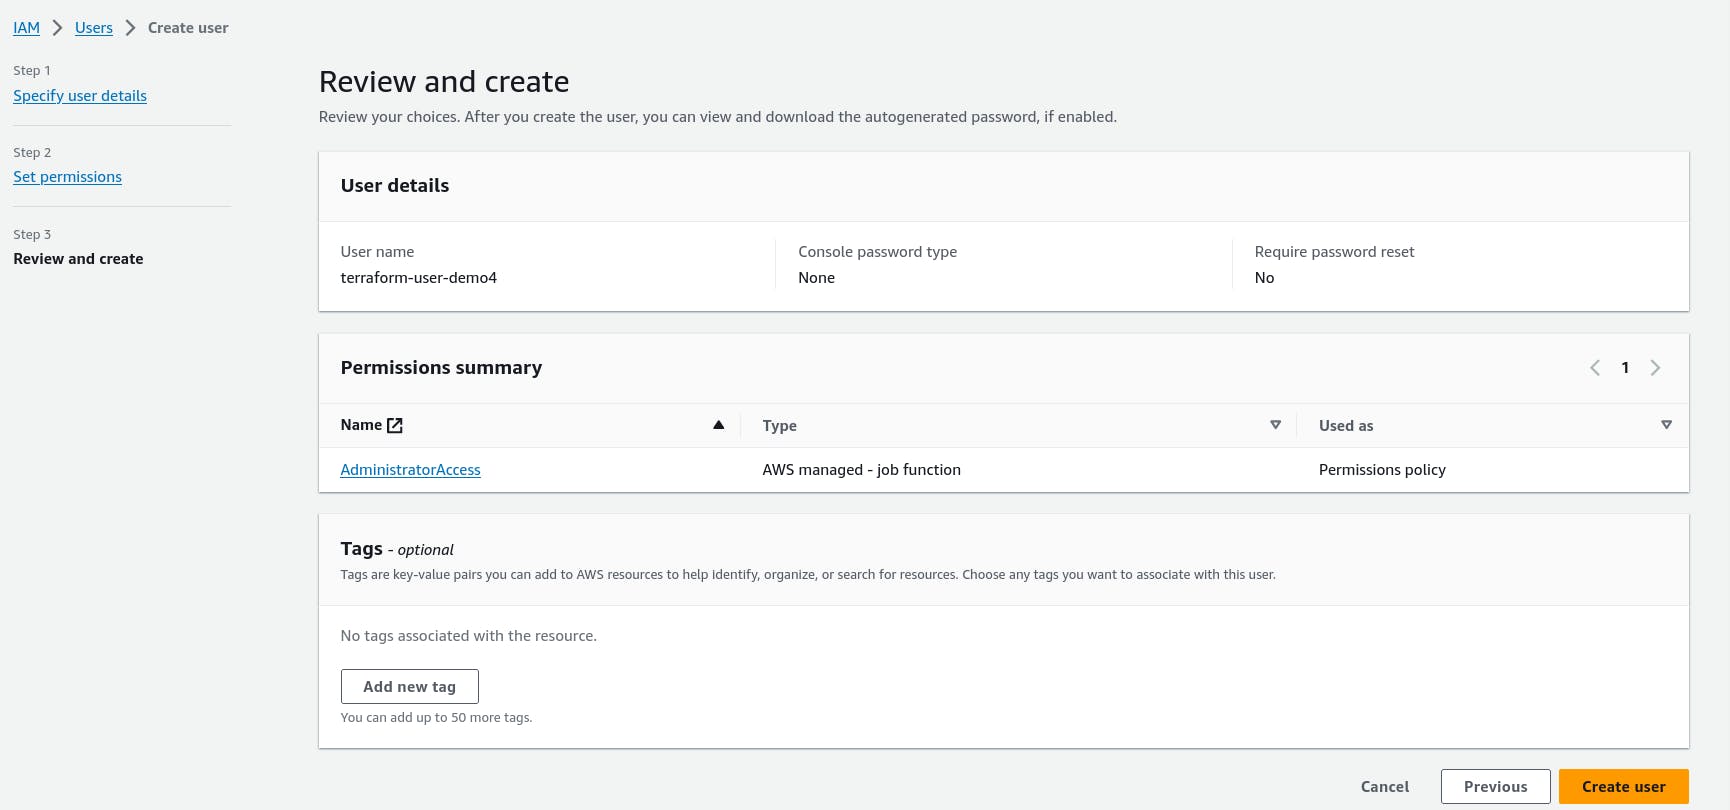
Step 2: Create access key from security credential section

Step 3: Then you need to clone this repository
github.com/chauhan-himani/kube_terraform
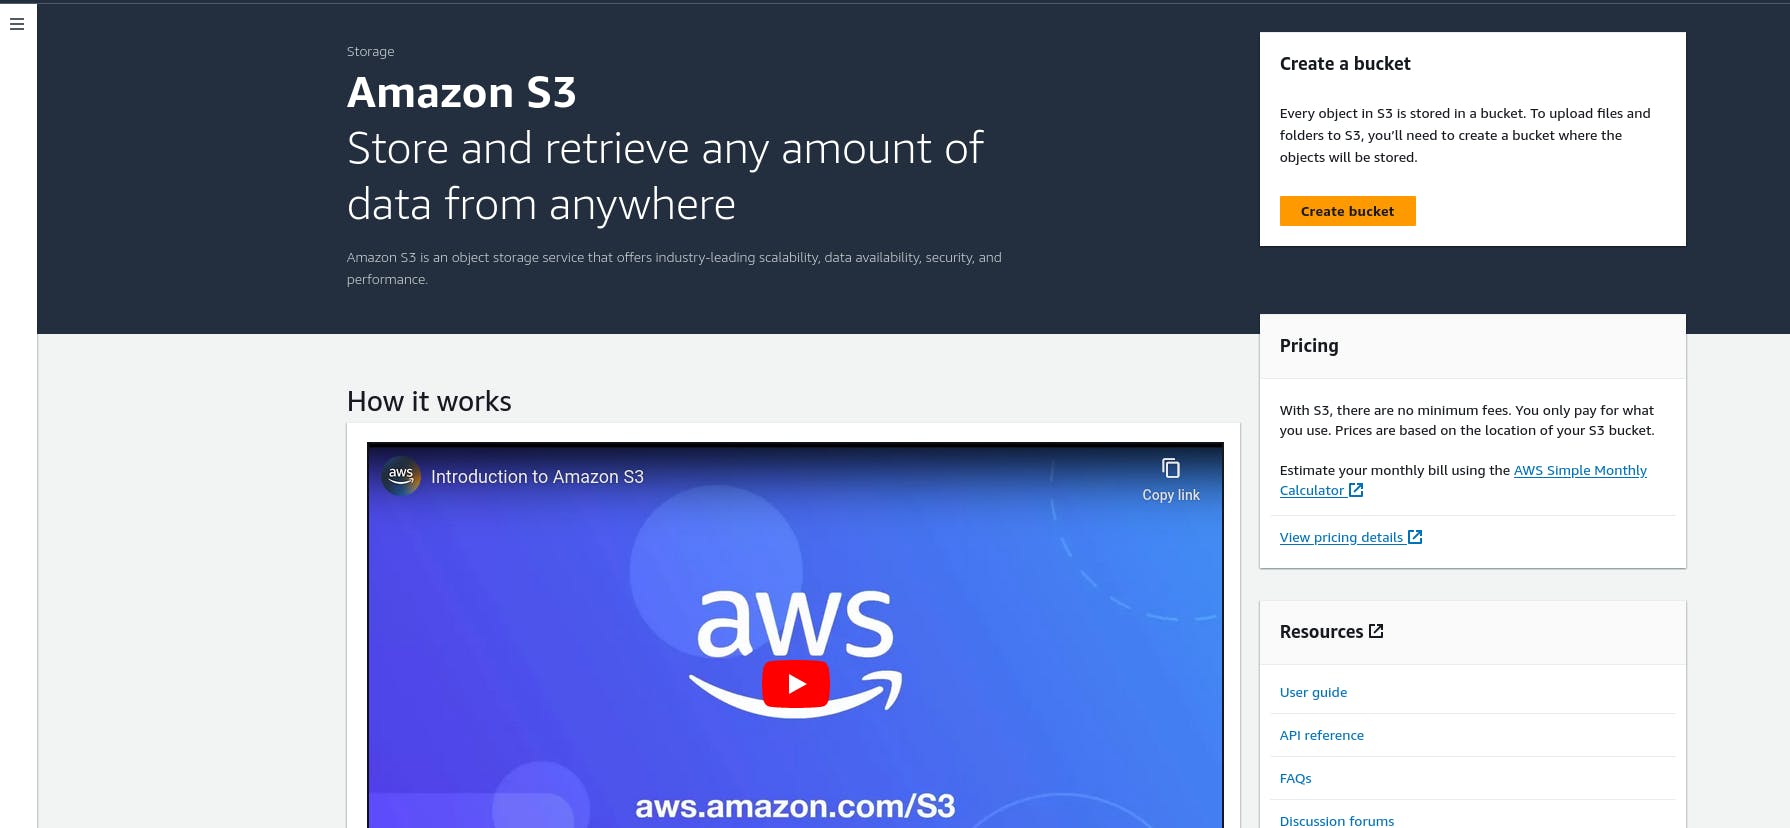
Step 4: After that you need to create s3 bucket
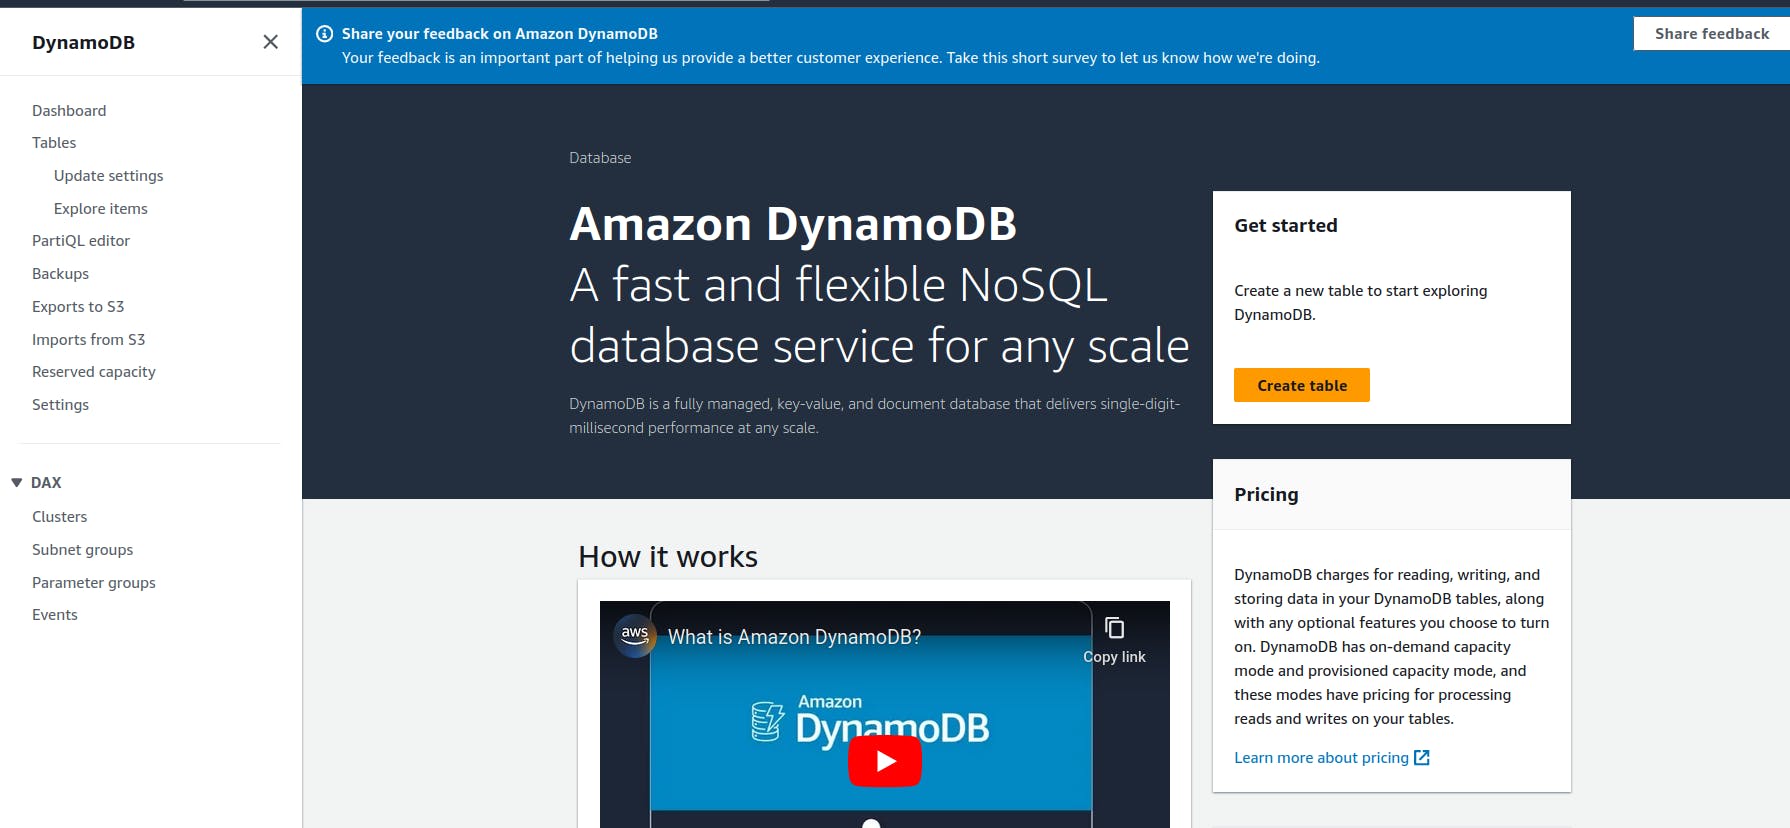
Step 4: Then you need to create DynamoDb table

We have two folders under the repository, ‘modules’, which contains all the custom modules created, and ‘ToDo-App’, where I have all created modules has been utilized to build our infrastructure.
It’s time to establish the backend and implement state-locking files. (Ensure you have an S3 bucket and a DynamoDB table.)
Let’s construct the infrastructure by installing the necessary dependencies for Terraform. Navigate to the ‘ToDo-App’ folder and access the terminal. Execute the following command to initiate the initialization process and install all required dependencies.
terraform init
Running the command below will give you an overview of what Terraform is about to create.
terraform plan
Let’s create infrastructure now 🤩
terraform apply
For permission, type ‘yes’ in the prompt or use the option - - auto-correct
Outputs
Please refer to the images below for all the components created by Terraform on AWS.
🟢 VPC

This image shows ToDo-App-vpc created
🟢 Subnets
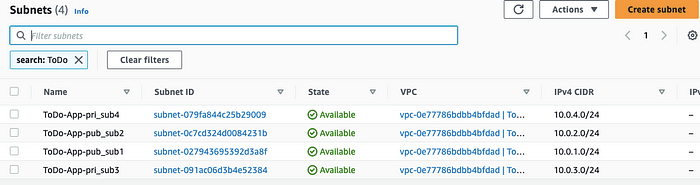
This image shows Public and Private subnets
🟢 Internet Gateway

This image shows Internet Gateway
🟢 NAT Gateway

This image shows NAT Gateway
🟢 Route Table
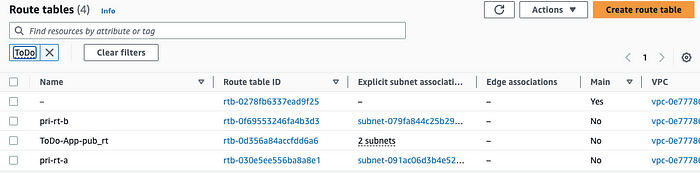
This image shows Route Tables
🟢 IAM role for EKS Cluster and Node Group
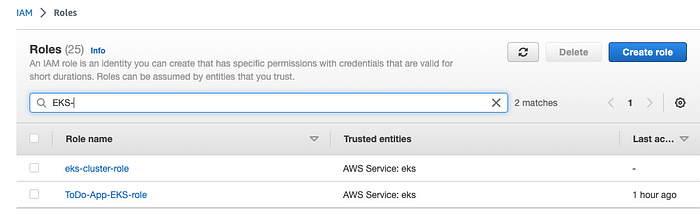
This image shows IAM role and policy
🟢 EKS Cluster
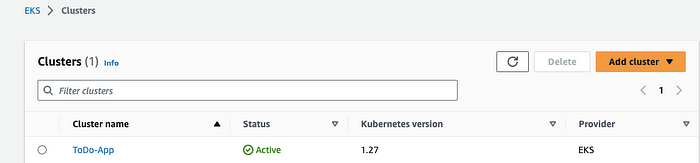
This image shows EKS Cluster
🟢 Node Groups

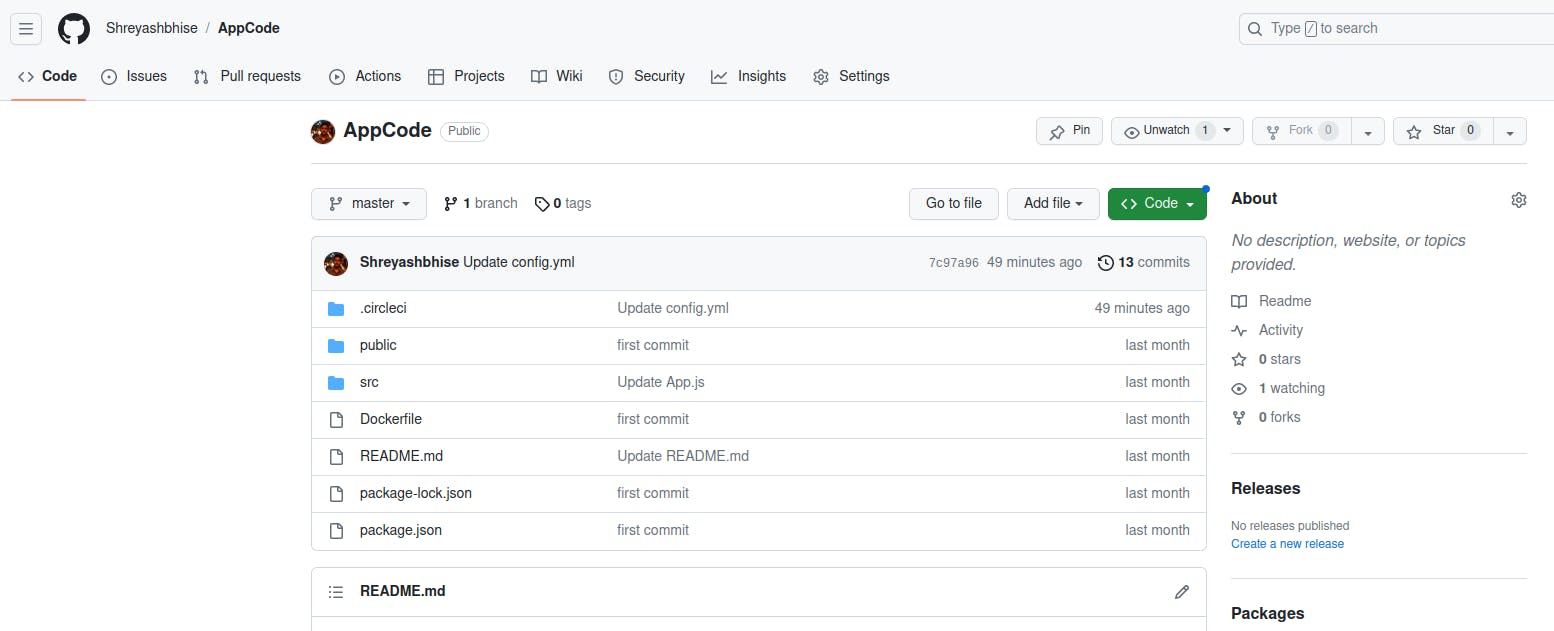
Note : Then create account on circleci and attach AppCode to the project
Step 1: Log in to CloudShell or your terminal window
Open your AWS console and look for the CloudShell icon at the top right bar next to the notification bell icon, as shown below:

This image shows how to open the cloud shell from the AWS console
Step 2: Create kubeconfig
Create or update kubeconfig using the below command:
aws eks update-kubeconfig --region $REGION --name $CLUSTER_NAME
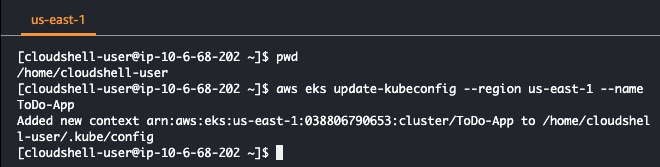
This image shows how to update kubeconfig with your created cluster name and chosen region
Step 3: Install ArgoCD
Download the latest Argo CD version from github.com/argoproj/argo-cd/releases/latest.
If you face any issues with the installation, try using the curl command below:
curl -sSL -o /usr/local/bin/argocd https://github.com/argoproj/argo-cd/releases/latest/download/argocd-linux-amd64
chmod +x /usr/local/bin/argocd
More detailed installation instructions can be found via the CLI installation documentation.
The namespace will be created as part of the installation in the above step. If you didn’t, please refer to the below command to create a namespace:
kubectl create namespace argocd

This image shows how to create a namespace
Step 4: Create ArgoCD Objects
kubectl apply -n argocd -f https://raw.githubusercontent.com/argoproj/argo-cd/stable/manifests/core-install.yaml
Ensure that pods are created by ArgoCD using the below command:
kubectl get pods -n argocd

This image shows the status of pods running in the ArgoCD namespace
Step 5: Publicly accessible ArgoCD-Server
By default, Argocd-server is not publicly accessible, but we can achieve external accessibility by utilizing a load balancer. While alternative methods like port forwarding can also provide access, this blog will focus on using a load balancer.
kubectl patch svc argocd-server -n argocd -p '{"spec": {"type": "LoadBalancer"}}'

This image shows how to make the ArgoCD server publically accessible using a Load Balancer
LoadBalancer will take a couple of minutes to be up and running. You can check your LoadBalancer status in the AWS console as below:
Login to AWS Console -> Search for ‘EC2’ in the search bar -> Click on ‘LoadBalancers’ in the left panel.

This image shows the created LoadBalancer in the AWS console
Use the command below to store your DNS name in a variable ARGOCD_SERVER.
export ARGOCD_SERVER=`kubectl get svc argocd-server -n argocd -o json | jq --raw-output '.status.loadBalancer.ingress[0].hostname'`
Step 6: Login to ArgoCD from CLI
We will address the requirements for accessing a system, which include a username and password. However, it is essential to note that the initial password is automatically generated. By default, the username is set to ‘admin’.
Take load balancer DNS from the AWS console or the terminal by running the command “echo $ARGOCD_SERVER” and paste it into the browser.
Store password in variable ‘ARGO_PWD’ by using the below command:
export ARGO_PWD=`kubectl -n argocd get secret argocd-initial-admin-secret -o jsonpath="{.data.password}" | base64 -d`
Now, log into ArgoCD using the below command:
argocd login $ARGOCD_SERVER --username admin --password $ARGO_PWD --insecure

This image shows how to log in to ArgoCD using the CLI
Step 7: Sync the Github Manifest repo with ArgoCD
In this section, I will guide you through setting up synchronization between Argocd and the GitHub manifest repository. To initiate the process, kindly copy the declarative file shared below and save it to your local computer with any preferred name.
Please change the repo URL in the below file with your corresponding repo at your GitHub.
apiVersion: argoproj.io/v1alpha1
kind: Application
metadata:
  name: todo-app-argo
  namespace: argocd
spec:
  project: default
source:
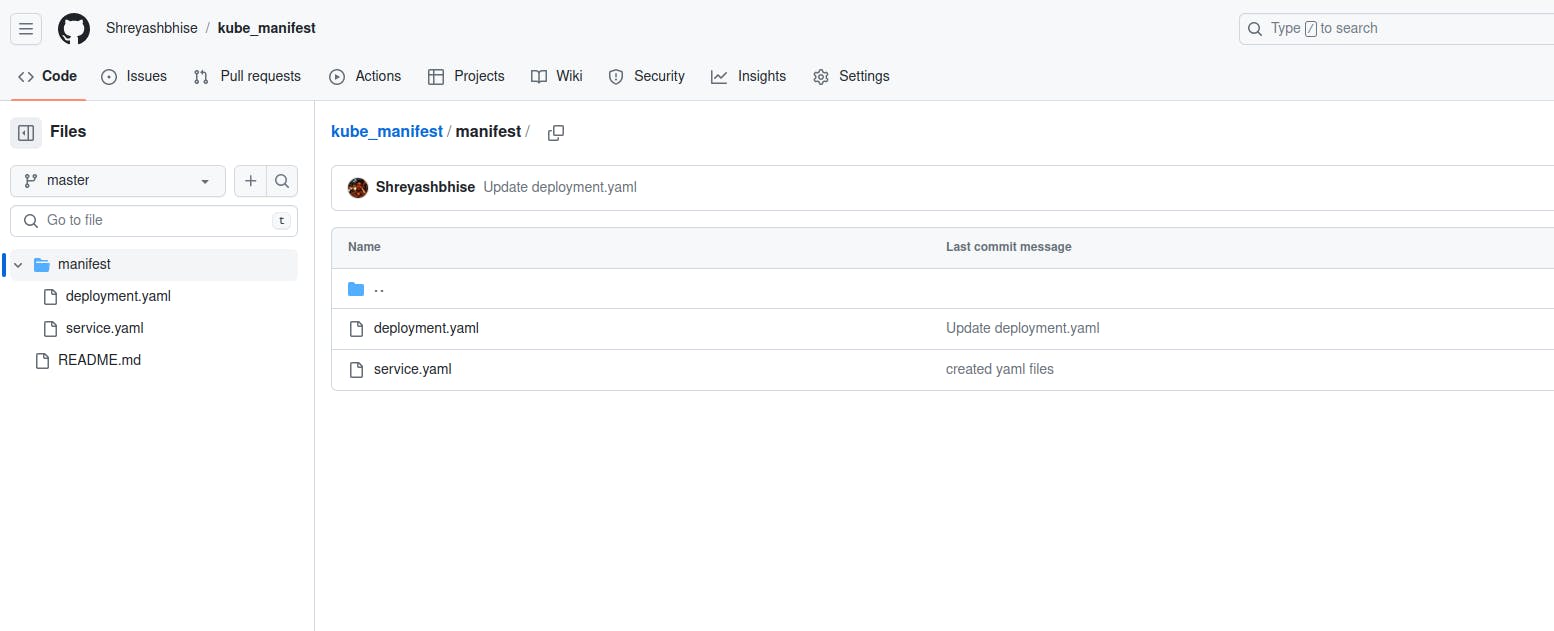
repoURL: https://github.com/shreyashbhise/kube_manifest
targetRevision: HEAD
path: manifest
destination:
server: https://kubernetes.default.svc
namespace: myapp syncPolicy:
syncOptions:
- CreateNamespace=true automated:
selfHeal: true
prune: true
Let’s apply the above file to start the sync process of the Manifest repo with ArgoCD using the below command:
kubectl apply -f manifest-argo-sync.yaml
Step 8: ArgoCD UI after successful deployment
Let's look at what has been done in the background to understand the next step better.
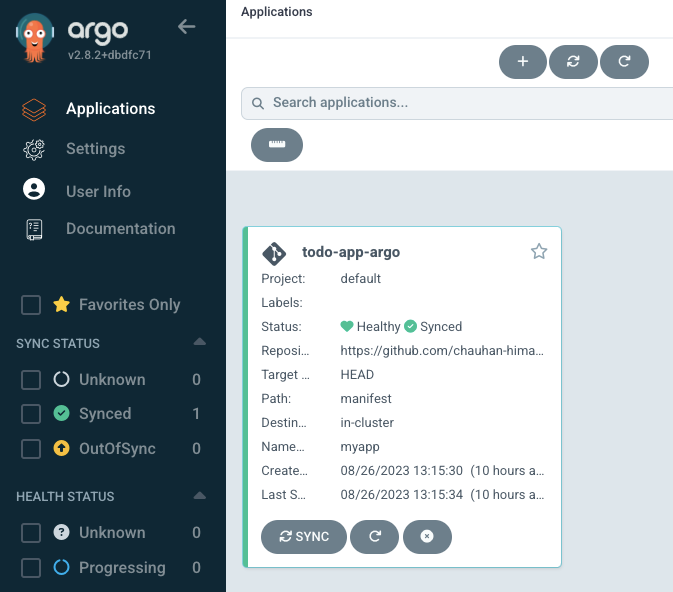
This image shows the ArgoCD UI
ArgoCD has applied the manifest file. We have configured this file to be created on ALB to access the dockerized application.
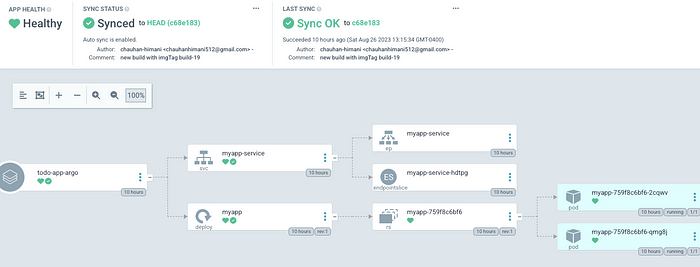
This image shows the flow of our deployment in the ArgoCD
Step 9: Test
We have completed all three parts of this blog, and it is time for testing 🙂.
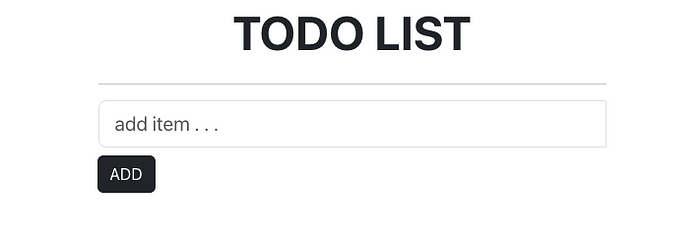
Open the LoadBalancer DNS link extracted from the AWS console pointing to our application inside the cluster ToDo-App.
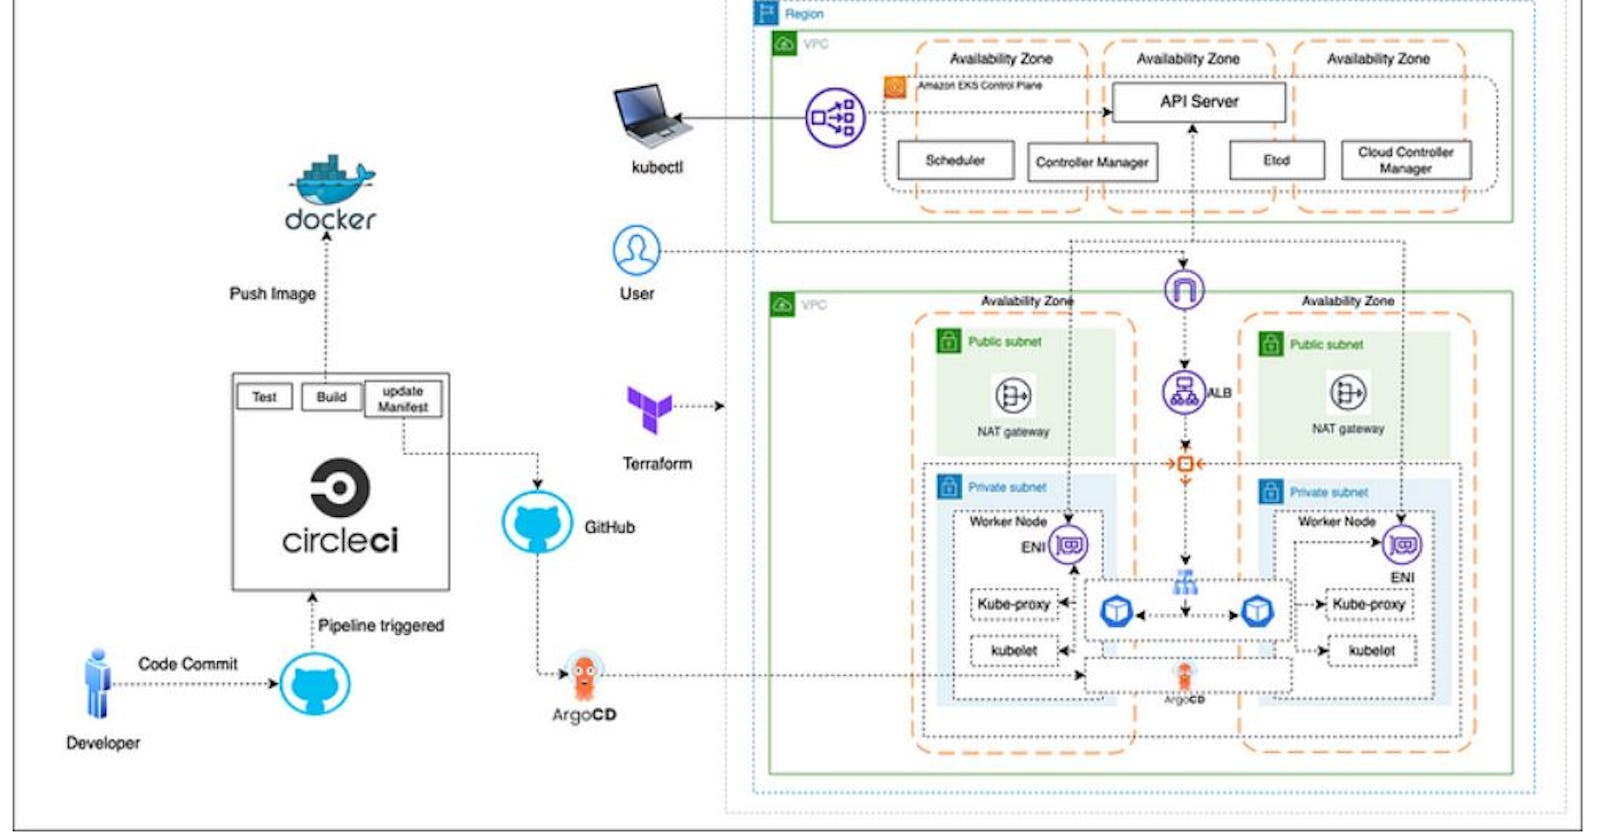
Deploying a Dockerized App on AWS EKS (Amazon Elastic Kubernetes Service) using ArgoCD and the GitOps methodology with a CircleCI project involves setting up a continuous delivery (CD) pipeline to automate the deployment of your application to your Kubernetes cluster. This process ensures that changes to your application are automatically deployed when changes are pushed to your Git repository. Here's a step-by-step project description:
Step 1: Set Up Your AWS EKS Cluster
1.1. Create an AWS EKS cluster if you don't already have one. Make sure you have the AWS CLI and kubectl configured to interact with your EKS cluster.
Step 2: Containerize Your Application
2.1. Dockerize your application by creating a Dockerfile that defines how your application should be packaged as a container. Build and push the Docker image to a container registry like Amazon ECR (Elastic Container Registry).
Step 3: Set Up ArgoCD
3.1. Install ArgoCD in your Kubernetes cluster. You can use the ArgoCD CLI or apply Kubernetes manifests to deploy it.
3.2. Configure ArgoCD to connect to your Git repository where your application manifests (Kubernetes YAML files) are stored.
Step 4: Define Your Application in ArgoCD
4.1. Create an ArgoCD Application resource that describes your application and references the Git repository and specific branch or tag to monitor for changes.
4.2. Configure the sync policy to automatically apply changes when the Git repository is updated.
Step 5: Set Up CircleCI for Continuous Integration
5.1. Create a CircleCI configuration file (.circleci/config.yml) in your application's Git repository.
5.2. Configure your CircleCI workflow to trigger when changes are pushed to the Git repository.
5.3. Within your CircleCI workflow, use the AWS CLI and kubectl to perform the following tasks:
Authenticate with your AWS account.
Build and push your Docker image to ECR.
Use kubectl to apply changes to your Kubernetes cluster.
5.4. Ensure that CircleCI has the necessary AWS credentials and Kubernetes configuration to access your EKS cluster and ECR repository securely. Use environment variables or secrets management to store sensitive information.
Step 6: GitOps Workflow
6.1. Developers make changes to your application code or configuration in the Git repository.
6.2. Push changes to the Git repository. This triggers the CircleCI build and deployment workflow.
6.3. CircleCI builds the Docker image, pushes it to ECR, and applies changes to the Kubernetes cluster using kubectl.
6.4. ArgoCD, which is continuously monitoring the Git repository, detects the changes and automatically synchronizes the deployed application state with the desired state defined in your Git repository.
Step 7: Monitoring and Maintenance
7.1. Implement monitoring and logging for your application and Kubernetes cluster to ensure proper observability.
7.2. Regularly review and update your GitOps-managed Kubernetes manifests as needed to reflect changes in your application's desired state.
By following this setup, you create a robust GitOps-based CD pipeline for your Dockerized application on AWS EKS, with CircleCI automating the CI/CD process and ArgoCD ensuring that your application remains in the desired state defined in your Git repository. This approach enhances consistency, reliability, and traceability in your deployment process.